
A successful makerspace is more than a room full of machines. It is a learning environment where people can design, build, test, fail, improve, and create real projects.
Whether you are building a makerspace for a school, library, community center, university, or business, the goal should not be to buy the most expensive equipment. The goal is to create a space that people actually use.
A strong makerspace combines the right tools, clear workflows, safety training, project-based learning, and ongoing support.
1. Start With the Purpose, Not the Equipment

One of the biggest mistakes organizations make is starting with a shopping list.
Before buying 3D printers, CNC machines, laser cutters, UV printers, or resin printers, first ask:
- Who will use the makerspace?
- What types of projects should they be able to create?
- Will the space support STEM education, entrepreneurship, prototyping, art, robotics, or community workshops?
- Will users be beginners, advanced makers, teachers, students, or professionals?
- Who will maintain the equipment?
A school makerspace may need reliable 3D printers, beginner-friendly design software, and classroom projects. A community makerspace may need a broader mix of tools for hobbyists, artists, and entrepreneurs. A business lab may focus more on prototyping, fixtures, short-run production, and design testing.
The equipment should support the mission — not the other way around.
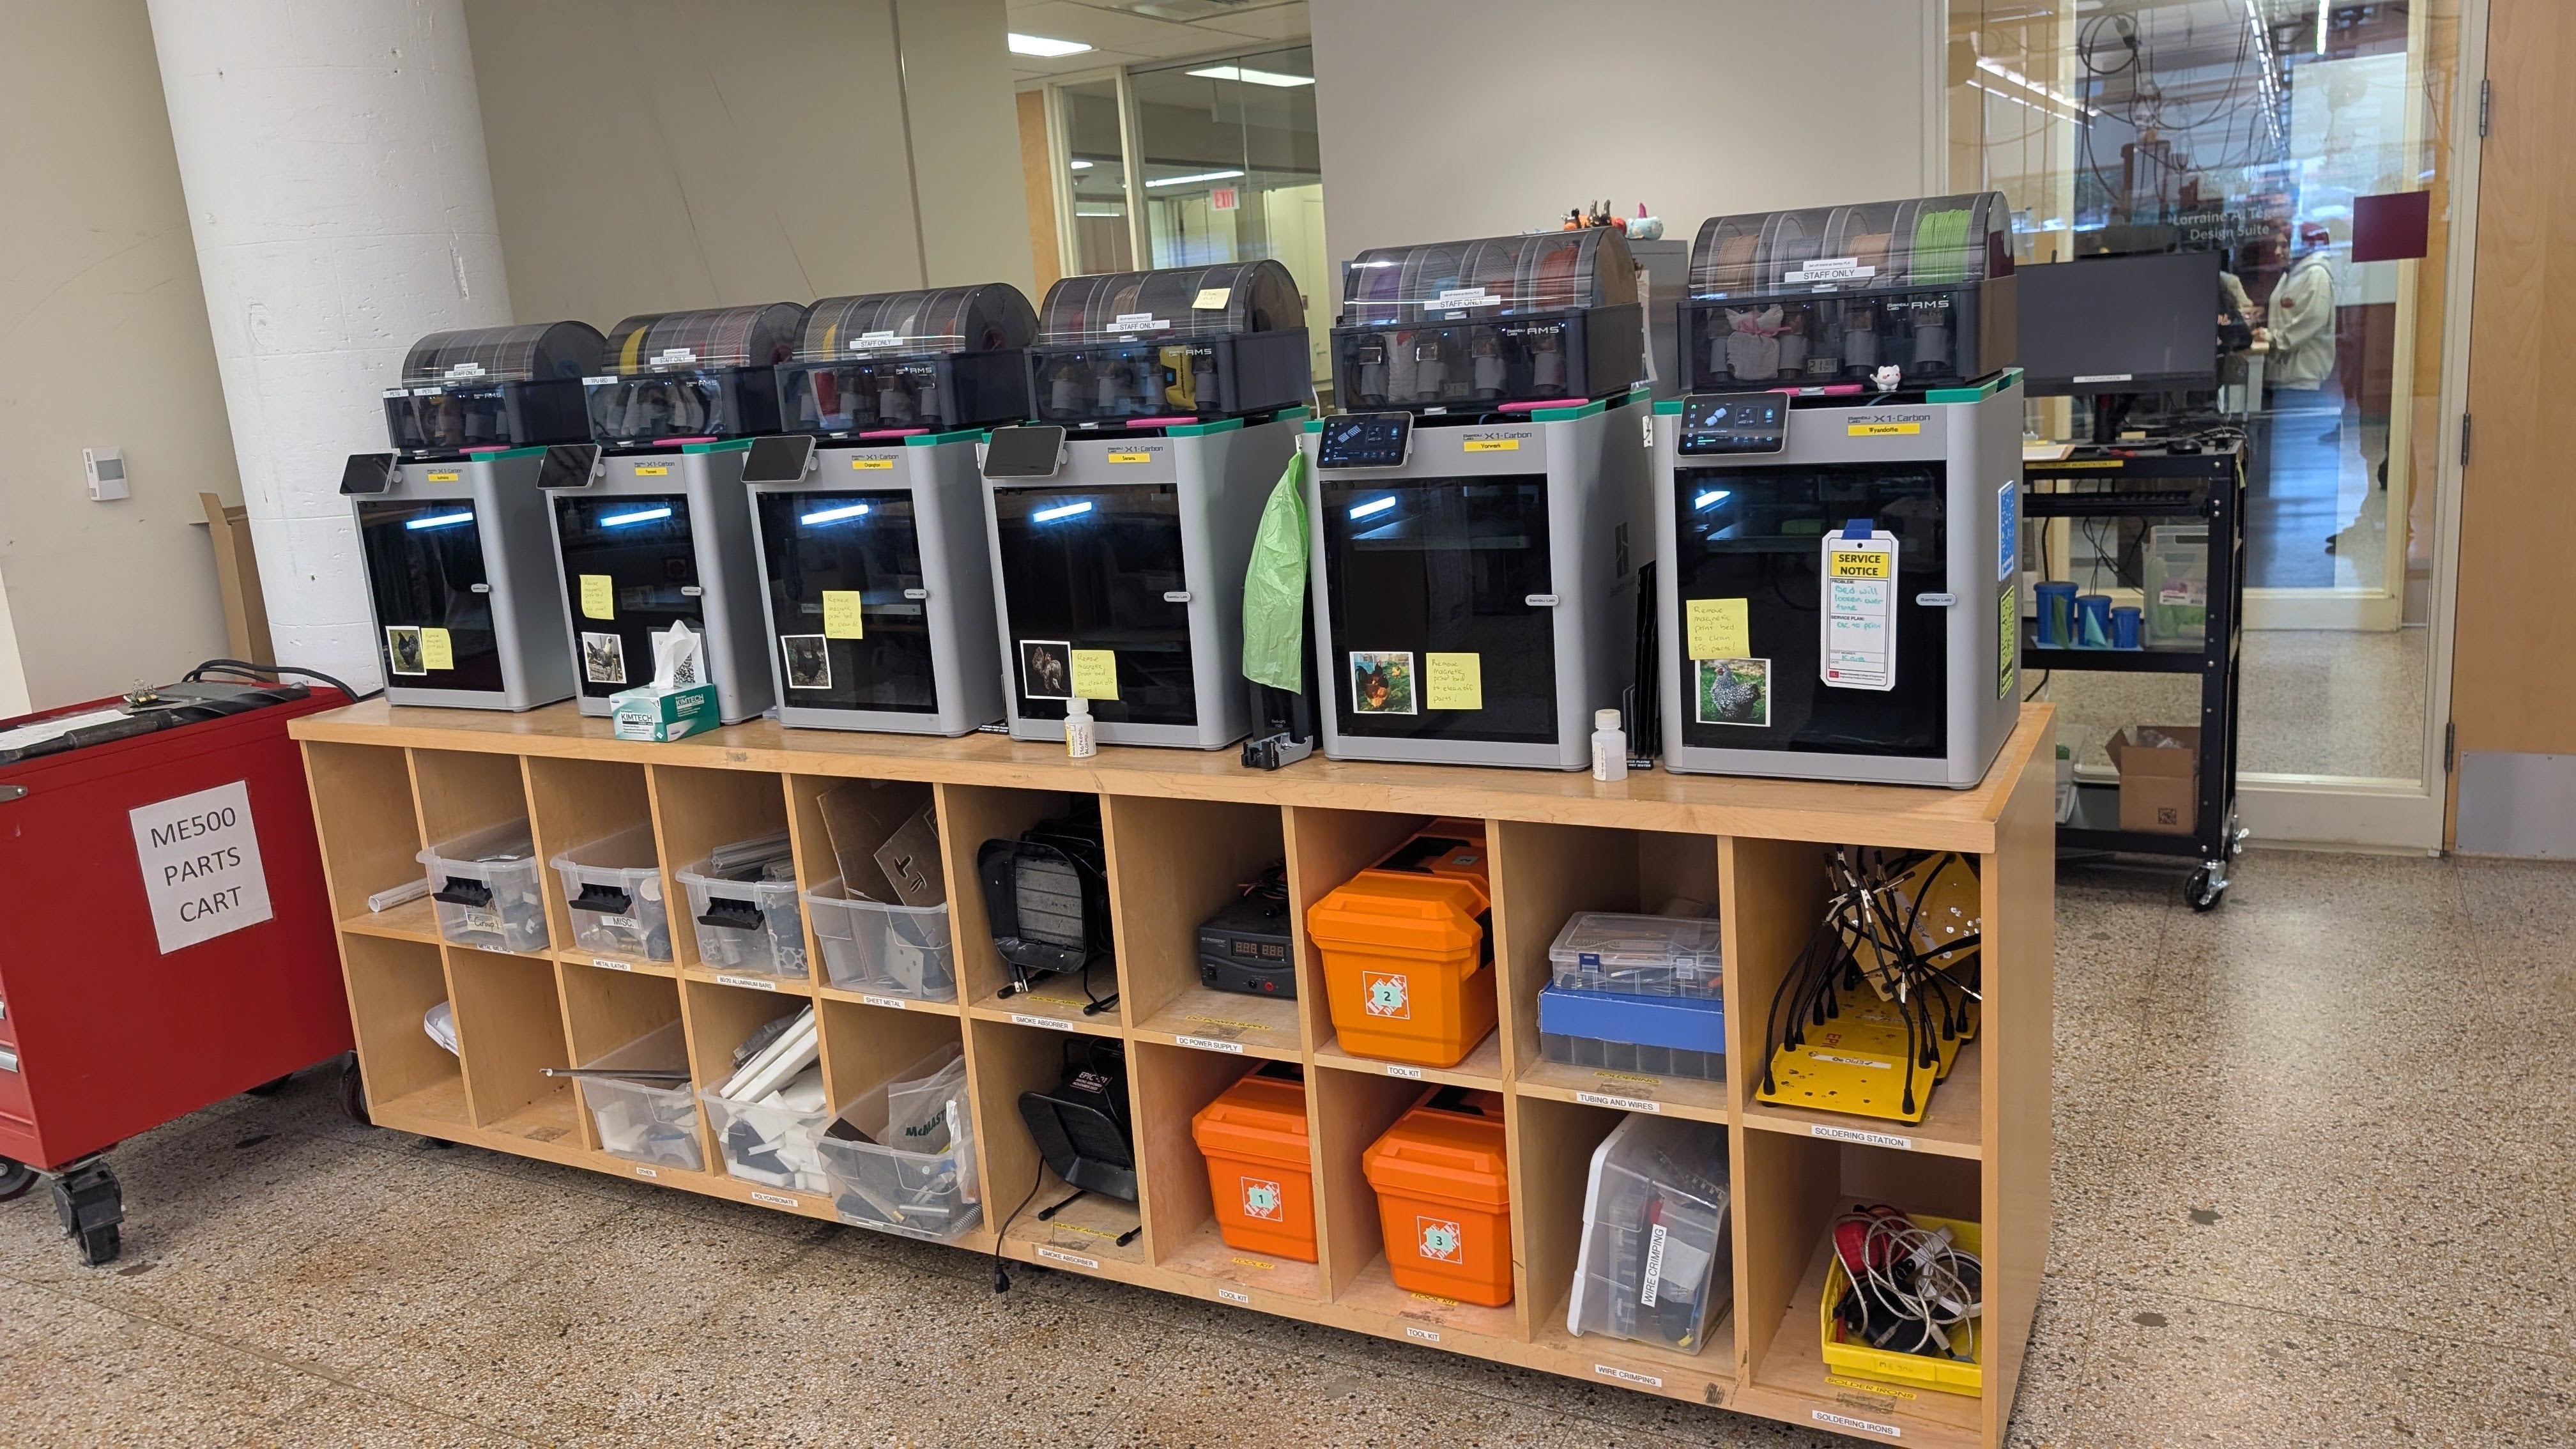
2. Choose the Right Core Equipment

A successful makerspace usually starts with a few reliable, high-use tools. You do not need everything on day one.
A practical starter makerspace may include:
- FDM 3D printers for everyday printing
- Filaments and material storage
- Basic hand tools
- Computers or laptops for design work
- CAD and slicing software
- Worktables and storage
- Safety supplies
- Maintenance parts and accessories
As the makerspace grows, you can add more advanced tools such as:
- Multi-color 3D printers
- Resin printers
- CNC machines
- UV printers
- Laser or cutting systems
- Electronics and robotics kits
- Vacuum forming or fabrication tools
For many schools and libraries, 3D printing is the easiest starting point because it is visual, accessible, and useful across many subjects.
3. Design the Space for Workflow

Good makerspaces are designed around workflow.
Think about how a user moves through the process:
Idea → Design → Prepare file → Make → Post-process → Store → Present
Your space should support each step.
Important zones may include:
- Design station
- Printing or fabrication area
- Tool storage
- Material storage
- Assembly table
- Post-processing area
- Display area for finished projects
- Safety and training area
Do not crowd all equipment into one corner. A messy makerspace becomes hard to teach, hard to supervise, and hard to maintain.
Good layout improves safety, efficiency, and user confidence.
4. Build Around Beginner Success

A makerspace fails when people feel intimidated.
Most users do not start as experts. Students, teachers, parents, library patrons, and community members need clear entry points.
Beginner-friendly projects help people experience success early.
Good starter projects include:
- Name tags
- Keychains
- Bookmarks
- Desk organizers
- Simple signs
- Puzzle pieces
- Phone stands
- Classroom models
- Simple robotics parts
- Customized gifts
Once users build confidence, they can move into more advanced projects such as engineering prototypes, multi-part assemblies, mechanical models, product design, and entrepreneurship projects.
The goal is to create a pathway from beginner to independent maker.
5. Plan for Training and Support

A makerspace is only as strong as the people who run it.
Even excellent equipment will sit unused if staff members do not feel confident.
Training should include:
- Basic machine operation
- Safety procedures
- File preparation
- Material selection
- Troubleshooting
- Maintenance
- Classroom or workshop project planning
For schools, teacher training is especially important. Teachers need to understand not only how the machines work, but how to connect them to lessons and student projects.
A good makerspace should not depend on one “tech person.” Build a system where multiple people can support the space.
6. Create Clear Safety Rules
Safety must be built into the makerspace from the beginning.
Each tool should have clear instructions, rules, and supervision requirements.
Safety planning may include:
- Age or skill requirements
- Required training before equipment use
- Protective equipment
- Ventilation considerations
- Fire safety procedures
- Material restrictions
- Emergency shutoff procedures
- Supervision policies
- Signage and checklists
Do not assume users know how to use tools safely. Clear rules protect users, staff, and the organization.
7. Stock Materials and Replacement Parts

Many makerspaces fail because they only budget for equipment, not ongoing supplies.
A 3D printer without filament is not useful. A lab without spare parts can sit idle for weeks.
Plan for:
- Filaments
- Resin
- Build plates
- Nozzles
- Hotends
- Cutters
- Adhesives
- Cleaning supplies
- Replacement parts
- Storage bins
- Labels
- Tools for maintenance
For schools and libraries, it is smart to keep basic materials and critical spare parts on hand so programs are not interrupted.
Downtime kills momentum.
8. Connect the Makerspace to Real Projects

The best makerspaces are project-driven.
Instead of only teaching tools, connect the tools to meaningful outcomes.
Examples include:
- STEM class projects
- Robotics team parts
- Science models
- History or geography displays
- Art and design projects
- Entrepreneurship products
- Accessibility tools
- Community service projects
- Repair and replacement parts
- Student invention challenges
When users see how the makerspace connects to real problems, they become more engaged.
A makerspace should help people move from “What does this machine do?” to “What can I create with it?”
9. Make the Space Visible

A hidden makerspace becomes an underused makerspace.
Display finished projects. Share student work. Host open house events. Invite teachers, parents, community members, and local organizations.
Ways to build visibility include:
- Student showcases
- Demo days
- Community workshops
- Maker fairs
- Project galleries
- Social media posts
- Newsletter updates
- School or library events
- Local business partnerships
Visibility helps justify the investment and attracts more users.
10. Start Small, Then Grow Strategically
You do not need to build the perfect makerspace all at once.
A better strategy is to start with a strong foundation, learn what users actually need, and expand based on usage.
Start with equipment that is reliable and broadly useful. Add advanced machines when there is clear demand, trained staff, and a plan for maintenance.
A successful makerspace grows in stages:
Stage 1: Starter Lab
Basic 3D printing, design software, beginner projects, and staff training.
Stage 2: Expanded Lab
More printers, multi-color printing, robotics projects, better storage, and structured workshops.
Stage 3: Advanced Fabrication Lab
CNC, UV printing, resin printing, laser/cutting systems, entrepreneurship projects, and specialized training.
Growth should be intentional. Buying too much too early creates clutter, confusion, and unused equipment.
Recommended Makerspace Equipment Categories
A balanced makerspace may include:
3D Printing
Great for STEM education, prototyping, design thinking, robotics, and creative projects.
CNC
Useful for wood, plastic, soft metals, signs, fixtures, and fabrication projects.
UV Printing
Good for customized products, promotional items, labels, signage, gifts, and creative business projects.
Resin Printing
Ideal for high-detail models, dental-style workflows, miniatures, jewelry prototypes, and precision parts.
Design and Software
CAD, slicing software, vector design tools, and project planning resources are just as important as the machines.
Training and Curriculum
A makerspace needs lesson plans, project pathways, safety training, and staff support to stay active.
Common Mistakes to Avoid
Avoid these common makerspace mistakes:
- Buying equipment before defining the goal
- Choosing machines that are too difficult for users
- Forgetting training and maintenance
- Underbudgeting materials and replacement parts
- Hiding the makerspace away from the community
- Relying on one staff member to manage everything
- Buying too many advanced tools too early
- Not creating beginner-friendly projects
- Ignoring safety procedures
- Treating the makerspace as a room instead of a program
The strongest makerspaces are not built by purchasing the most machines. They are built by creating a system that helps people learn and create consistently.
Final Thoughts
A successful makerspace is a combination of tools, training, safety, project design, and community engagement.
The best makerspaces are active, approachable, and connected to real learning. They help students, makers, teachers, entrepreneurs, and community members turn ideas into physical objects.
Start with a clear purpose. Choose reliable equipment. Train your team. Build beginner-friendly projects. Keep materials and spare parts ready. Then grow step by step.
That is how a makerspace becomes more than a room of machines — it becomes a creative engine for the community.
Need Help Building a Makerspace?
InnoAddi supports schools, libraries, makerspaces, businesses, and community organizations with digital fabrication equipment and education support.
We provide access to:
- Bambu Lab 3D printers and accessories
- Makera CNC machines
- eufyMake UV printers
- HeyGears resin printers
- Filaments, resins, replacement parts, and accessories
- Product recommendations
- Formal quotes
- Purchase order support
- Tax-exempt ordering
- STEM enrichment classes and workshops
- Makerspace setup guidance
Whether you are starting your first makerspace or expanding an existing lab, we can help you choose the right tools and build a practical plan for your community.


