
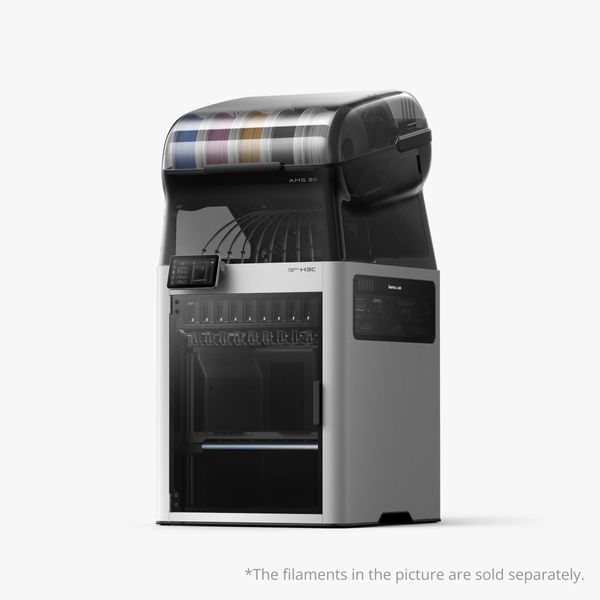
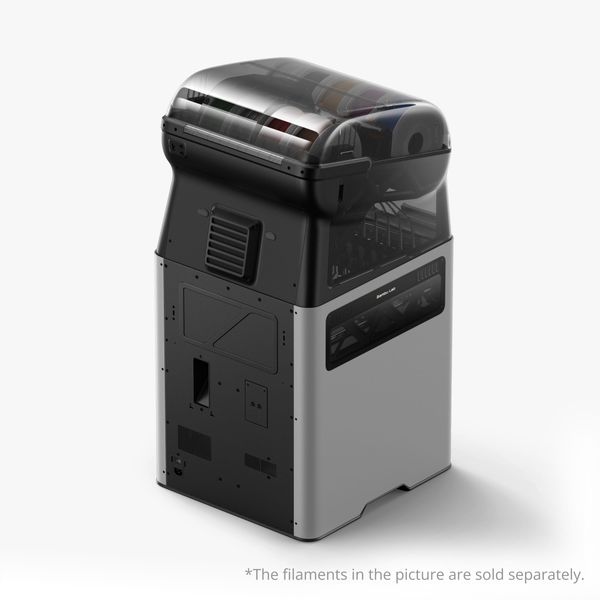
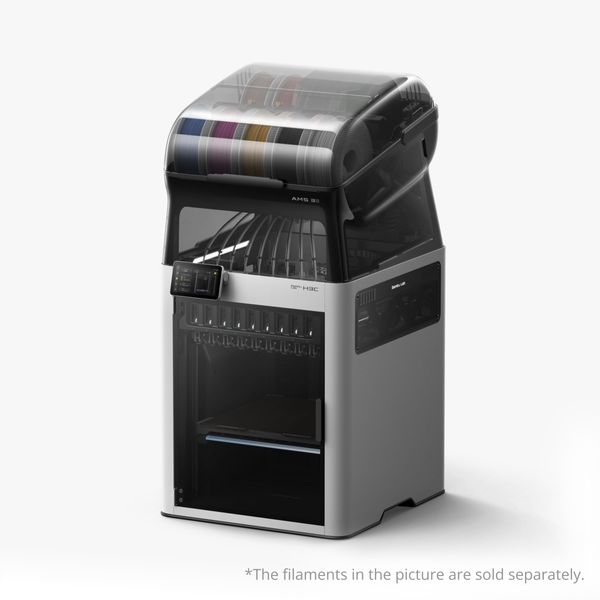


9-Material Tool Changing: Bambu Lab H3C
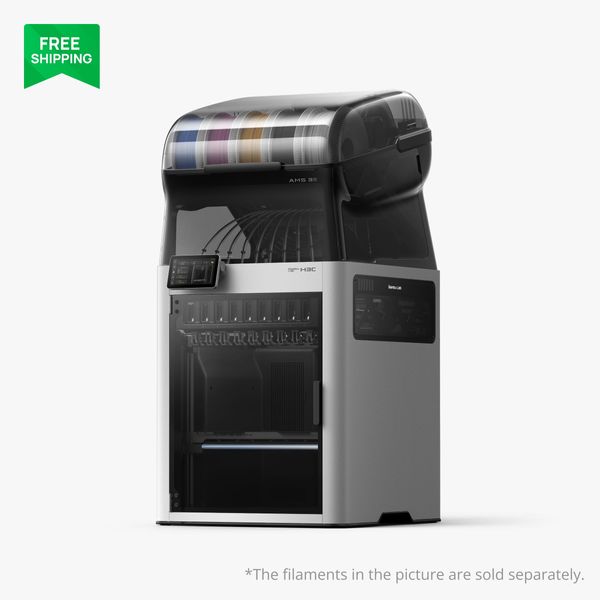
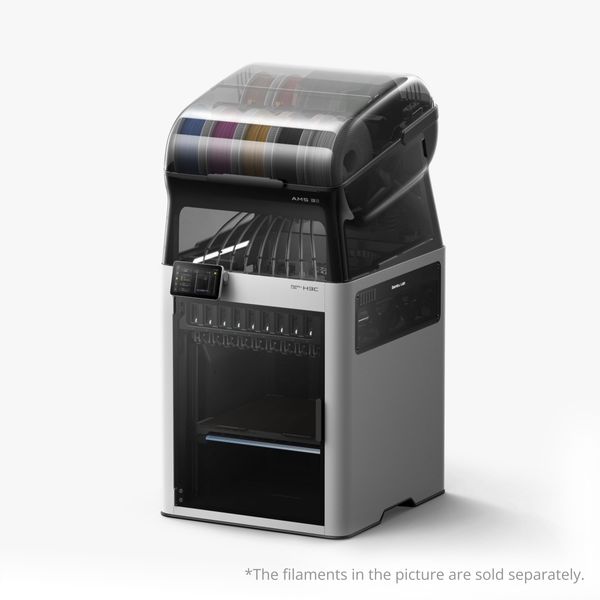
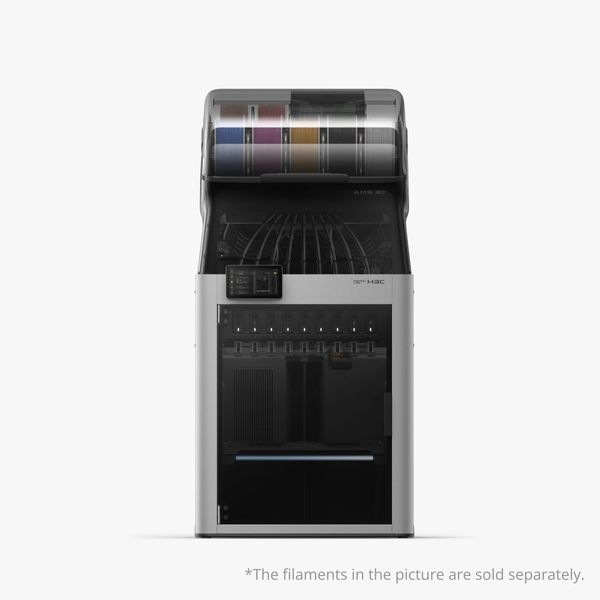
The Bambu Lab H3C is a fully enclosed 3D printer built around SwapTek 9-tool switching. With nine independent material paths and tools that stay docked, loaded, and pre-heated, it switches materials in seconds with minimal purge - so multi-material and multi-color prints waste far less filament.

Tool-Changing Freedom

9 Materials, Minimal Waste
Nine independent paths mean each material has its own tool, ready to go. Swaps take seconds, purge stays low, and complex multi-material prints come out clean.
Ultra-Soft TPU, Two Diameters
The FlexFeed extruder prints ultra-soft TPU in both 1.75 mm and 2.85 mm filaments - the same TPU 75A (2.85mm) we carry, plus standard 1.75 mm TPU.
Enclosed Filament System
A fully enclosed filament path with active chamber heating and cooling, plus built-in drying for PA, PC, and CF-filled materials, keeps engineering filaments printing at their best.
Multi-Process Tools
Automated tool switching covers print, cut, draw, and deboss. CraftTools are sold separately.
Floral Frame - CMYKW Color Mixing
Nine PrintTools. One extraordinary print. The H3C brings color, material versatility, and intricate detail together in a single creation. Five PrintTools blend CMYKW into full-spectrum color, one handles water-soluble PVA supports, and three add unique textures using PLA Silk and Wood. Together, they create a stunning floral design with vibrant colors, intricate details, and a beautiful sheen that brings every petal to life.
SVEINS Ridgeline Gather Bag - Multi-color TPU
Futuristic design meets outdoor functionality. Combining TPU materials with different hardness levels, the body offers flexibility where it needs to stretch (75A), structure where it needs support (95A), and cushioning where it meets the ground (90A). Beneath the surface, Cross Zag infill adds visual depth and a responsive feel, bringing comfort, function, and design together in a single print.
BounceBerry X Trainer - Multi-material Flexible
75A TPU up top, while breathable Cross Zag infill promotes airflow. High-rebound blocks in the midsole provide responsive cushioning, and an X-shaped arch in the outsole adds stability during quick changes in direction. Together, these features deliver the breathability, flexibility, support, and responsiveness you'd expect from everyday footwear.
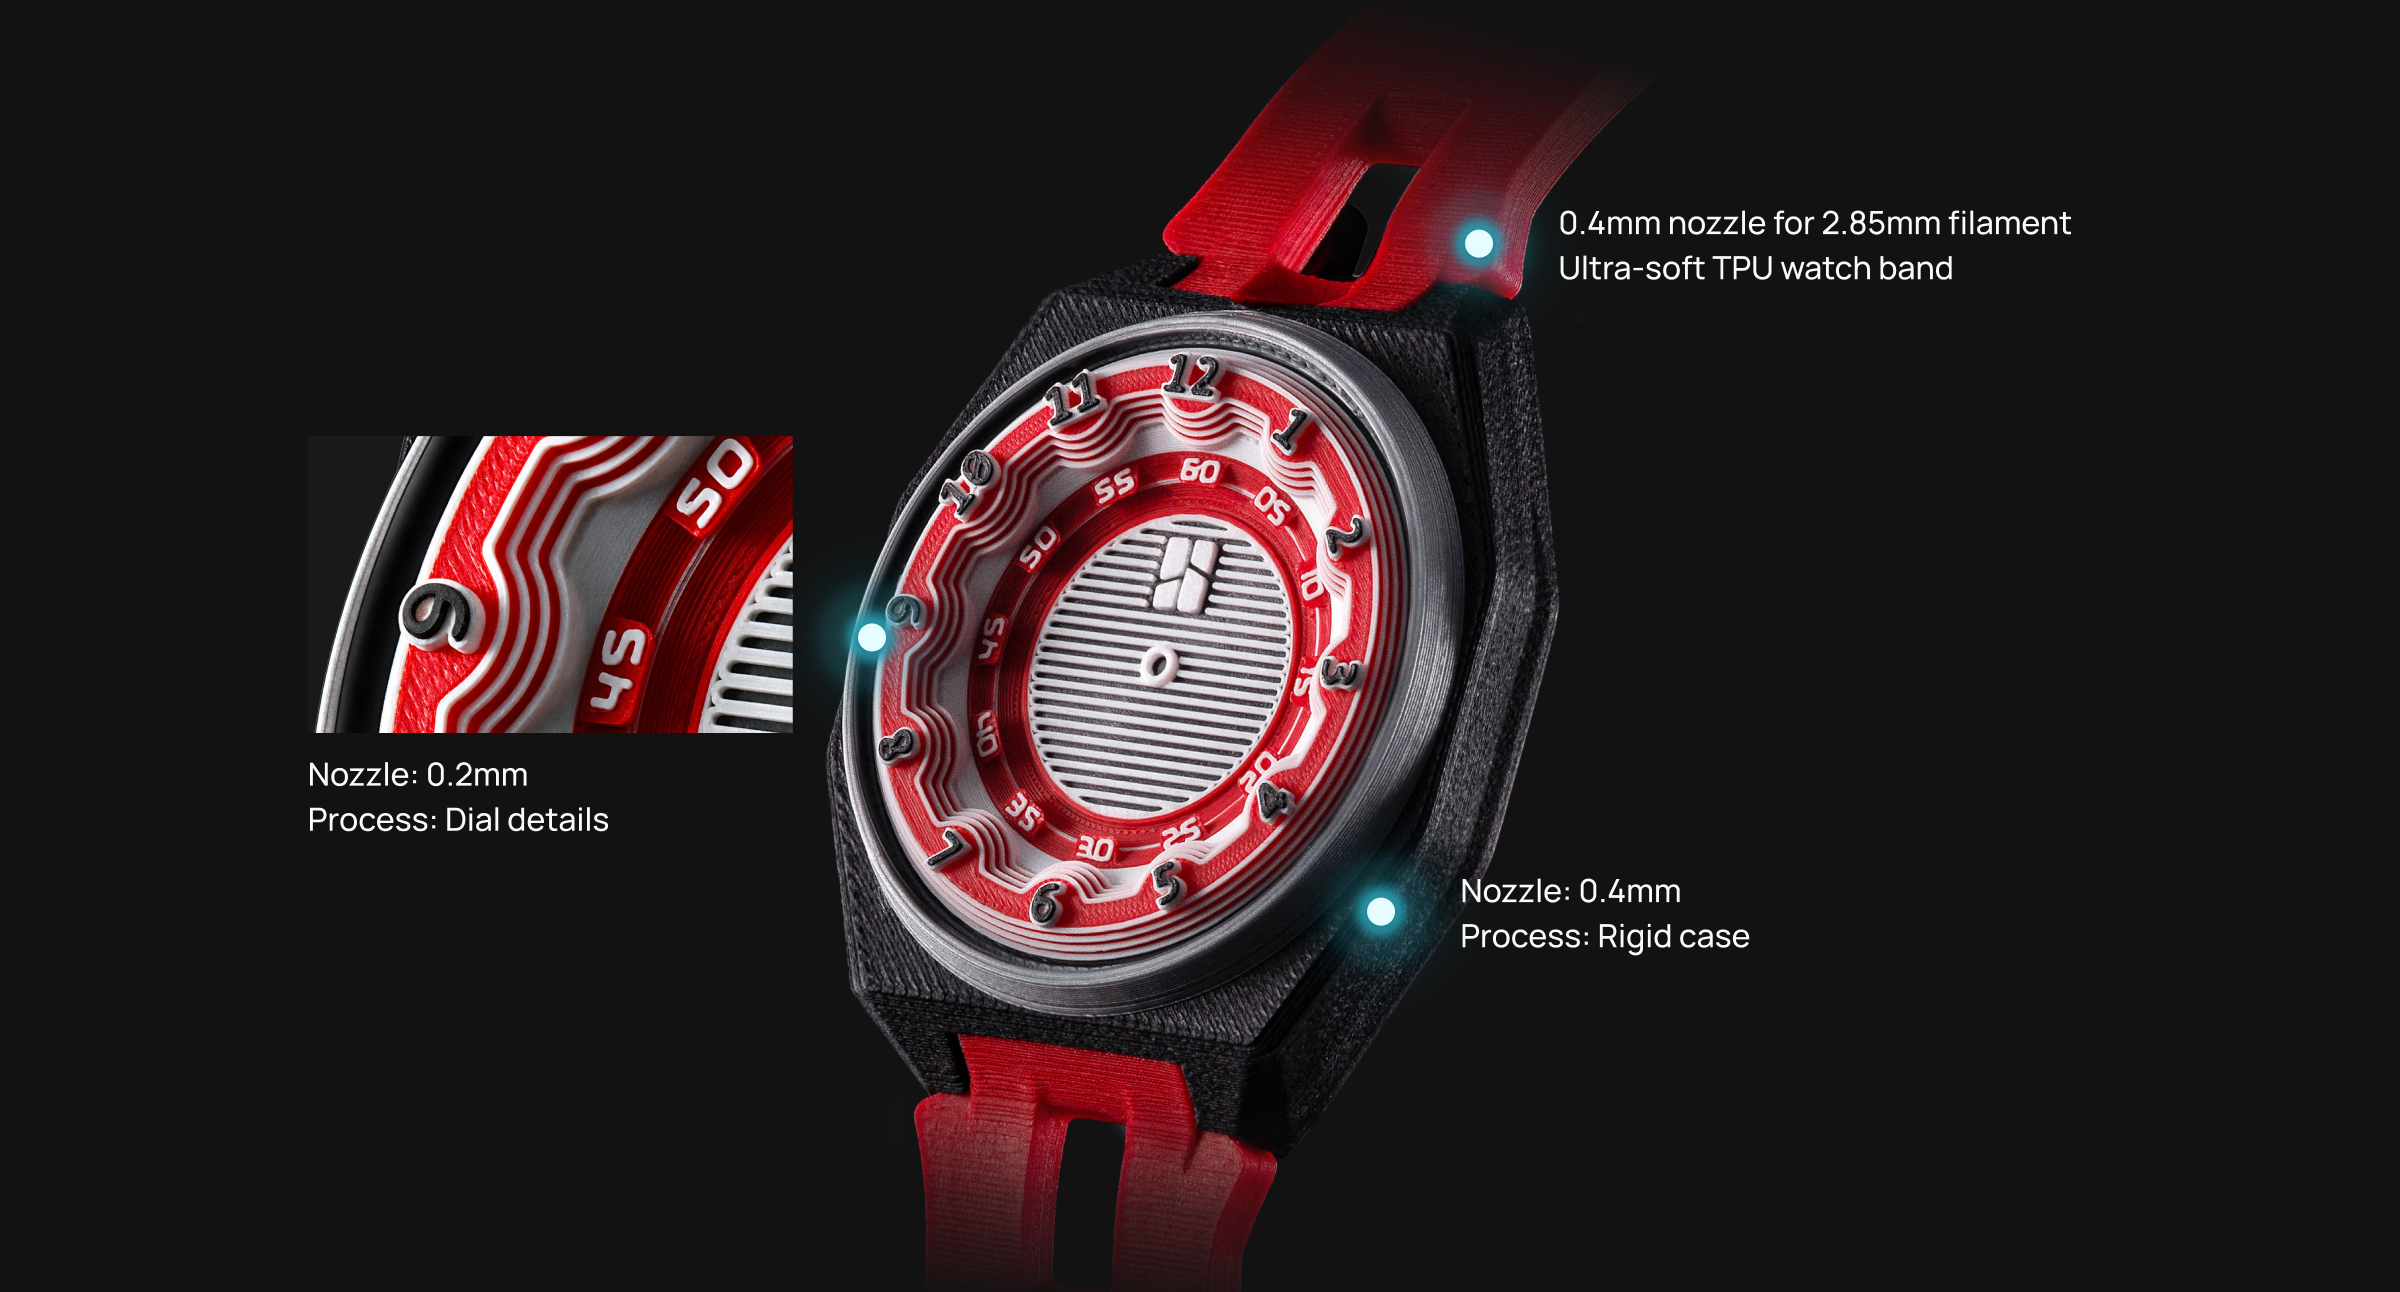
Maker Watch - Mixed Nozzle Sizes
A watch is normally a few dozen parts and a long evening. This one lifts off the plate as one body—dial, case, and band already together. What's left is a short finish, not a build. H3C changed materials and nozzle sizes mid-print: 0.2 mm for sharp indices, 0.4 mm for a case that holds its shape, and a TPU nozzle for a 75A band that bends like a band should. Printed as one. Finished in minutes.
FROSTSPINE Dragon Bust - Print-in-Place Spine
What looks like a hundred individual parts is actually one seamless print of three parts. This bio-inspired spine combines three materials: PLA for a rigid frame, 90A TPU to cushion each ball joint, and 75A TPU that runs through the structure like ligaments, allowing natural, fluid movement. Three materials, one print, zero assembly. That's Swaptek™.
Hinge Lamp - Multi-Material Damper Hinge
All the magic is in the hinge. It prints as one piece—a 75A TPU cushion sandwiched between rigid shells, springy under the thumb and good for thousands of adjustments. A 0.2 mm nozzle prints the ratchet, so every click lands smooth, not gritty. You'll adjust it just because it feels good.
Mecha Hammerhead Shark - Printed Reduction Gear Set
Anyone can print a shark. Making it swim is the hard part. Inside sits a fully printed reduction gear train, driven by a Makers' Supply motor kit, offsetting head and tail so it swims instead of wags. The shape borrows from future vehicle design—supercar lines, shark anatomy, both shaped by what moves through them.
At a glance
Swaptek™ - 6-second print-to-print material switch
Nine PrintTools, each with its own dedicated filament path and heater, keep every material loaded, preheated, and ready to print. No need to retract one filament before loading another. With an optimized design, fine-tuned parameters, and active preheating, switching between PrintTools takes as little as 6 seconds.
3.4s Tool Change
0.038g Low Purge*
Multi-process
Preheat the next nozzle before you need it.
Heating a nozzle usually means waiting. Active Pre-Heat looks ahead to the next tool change and warms the incoming nozzle while the current one is still printing—so the new material starts laying down within 6 seconds.
Soft TPU, up to 3× faster*—without jams*.
Printing soft TPU has traditionally been slow because flexible filament can buckle before reaching the nozzle, limiting extrusion speed. FlexFeed supports both 1.75 mm and 2.85 mm filament, with dedicated 2.85 mm TPU providing greater resistance to buckling and higher volumetric flow. The result? Reliable printing with TPU as soft as 75A at up to 3× the flow rate of traditional printers.
FlexFeed switches seamlessly between 1.75 mm and 2.85 mm filaments. A cam-driven mechanism, powered by a PMSM motor, keeps tension precise and consistent—so every extrusion stays rock-solid.
SVEINS Ridgeline Bag
BounceBerry X Trainer
Speed where you want it. Detail where it matters.
The dial, case, and flexible TPU band are printed together as one piece. Fine dial details call for a 0.2 mm nozzle, the case is better suited to 0.4 mm, and the soft band requires a dedicated 0.4 mm TPU nozzle. H3C can carry different nozzle sizes at once. Paired with Bambu Studio’s new mixed-diameter toolpath planning algorithm, each nozzle prints at a layer height that suits it and plays to its strengths, without having to share a single layer height.
It's all about curiosity.
Watching a print come to life is part of the magic of 3D printing. That's why the rack retracts out of view, giving you a clear look inside the chamber. Pull up a chair, watch the first layer take shape, and enjoy the process. It's something that never gets old.
Print. Cut. Draw. Deboss. All in one machine, all on its own.
Swaptek isn't limited to PrintTools. Optional CutTool, DrawTool, DebossTool—and more—mount the same way and switch automatically. Multi-process projects no longer mean multiple machines, manual swaps, or repeated setups. One job, every process, hands off.
Deboss
Blade-cut
Draw
Foil-transfer
AMS 3H - Filament Management Built for Tool Changer
A fully enclosed, integrated filament management system built for Swaptek™: every roll stays sealed against moisture and feeds automatically into the PrintTool. A built-in 2-slot dryer takes extra care of the most hygroscopic filaments—PA, PET, and TPU.
9-Slot
85°C Dryer*
Auto-Loading
No guesswork on loading.
No more manual loading. Drop a filament into any of the nine slots and the AMS 3H detects, routes, and engages it with the PrintTool automatically—across all 9 paths.
Drying, integrated into the print flow.
A dedicated 2-slot dryer sits right in the filament slots and works with Swaptek™—drying on demand or mid-print*, so prep never stalls production. It reaches 85°C*, enough for engineering-grade PA, PC, and carbon-fiber-filled filaments.
Nine materials, with room for more.
Most toolchangers limit the number of materials to their available tools. The H3C goes further. Connect existing Bambu Lab AMS units through PrintTool No. 1 to support up to 24 filament spools, unlocking more colors and materials in a single print without changing your workflow. Already own an AMS? Simply connect it and expand your possibilities.
Filament storage, built in. Not hanging off.
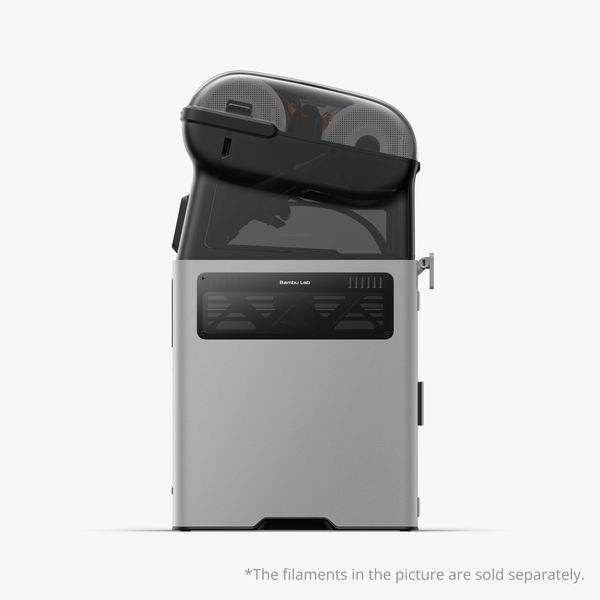
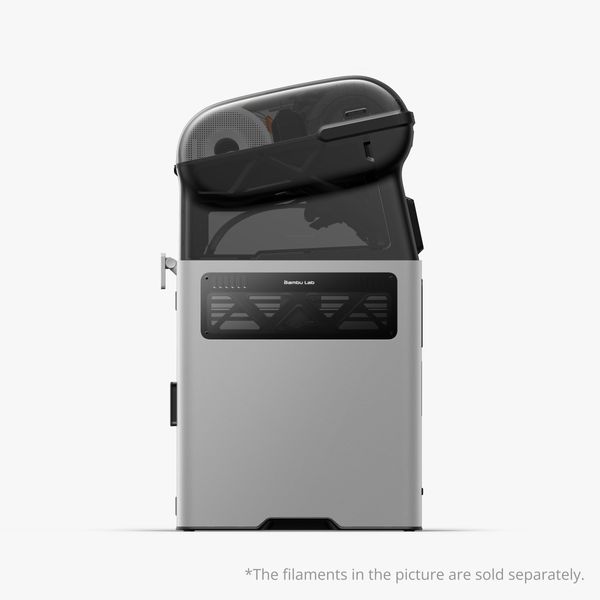
No spools hanging off the side, no dryer taking up valuable workspace. The H3C integrates filament storage and drying into a clean, compact design, maintaining a footprint comparable to a single-nozzle printer. No external racks or exposed filament paths. Just one streamlined, all-in-one printing solution.
Flagship Performance. No Compromise.
Behind the H3C's advanced multi-material capabilities is a foundation engineered for precision and performance. Cross-flow cooling delivers cleaner overhangs, a 65°C heated chamber helps minimize warping with engineering-grade materials, and an advanced motion system maintains fine detail even at high speeds. Complex prints demand more from your printer. The H3C is built to deliver.
Lighter head. Faster prints. Same precision.
The toolhead and X-axis assembly are 40% lighter*, reducing inertia for faster, more precise movement. With acceleration reaching 25,000 mm/s and travel speeds up to 1,400 mm/s, the H3C delivers exceptional speed while minimizing vibrations and ringing that can affect print quality.
50 μm motion accuracy. Held for years, not weeks.
For projects where precision matters, from engineering components to production runs, the optional Vision Encoder helps maintain accuracy over time. By providing an absolute optical reference, it enables recalibration to compensate for mechanical wear and drift, restoring motion accuracy to under 50 μm across the build volume. Precision you can rely on, print after print.
Cooled at every level. Print clean, even in summer.
Effective cooling is essential for consistent print quality. That's why the H3C features four layers of cooling working together. A CFD-optimized part cooling fan and dual auxiliary fans help maintain clean overhangs and bridges, even at high speeds. A dedicated PrintTool fan maintains thermal stability during extended printing and frequent PrintTool changes, while a chamber fan draws in cooler air to help regulate internal temperatures*. Together, these systems deliver consistent cooling and reliable print quality across changing ambient temperatures.
Engineered for High Temperatures, From Nozzle to Chamber.
Engineering-grade filaments demand precise temperature control. The H3C delivers with active dual-zone chamber heating up to 65°C, helping maintain consistent temperatures and minimize warping. All nine hardened-steel nozzles reach up to 350°C, supporting demanding materials such as ABS, PC, PA-CF, PET-CF, and more.
More Time Making. Less Time Tinkering.
The H3C packs advanced technology into a surprisingly simple experience. Automation handles routine tasks, while AI helps make intelligent adjustments along the way. Whether you've been 3D printing for ten years or just ten minutes, the H3C makes it easy to focus on what matters most: bringing your ideas to life.
Nine tools, calibrated automatically—every time.
With nine PrintTools working together, precision is essential. The H3C automatically handles PrintTool docking calibration, offset compensation for accurate color and material alignment, and bed leveling before every print. No manual adjustments needed.
It watches, so you don't have to.
A full array of vision systems* watches from before the first layer to the last. Up front, the H3C checks the chamber against your slicer setup and flags mismatches while they're easy to fix. Then its AI catches spaghetti, purge-bin jams, and clogs before they cascade. Check in whenever you like.
Find the fix, right on your screen.
The new HMS doesn't just throw an error code at you. It diagnoses the actual cause—narrowing it down, ranking the possibilities, and explaining what each one means in plain language. You see what's wrong, not what might be.Then MiniWiki walks you through the fix, right on the printer's screen. No QR codes. No phones. No flipping between the machine and a help page. Read the step. Do the step. Move on. Most issues resolved before your coffee gets cold.
Official Accessories
Made to fit your space.
A 3D printer shouldn't take over your space—it should fit into it. Bambu Lab's official accessories make the H3C feel like a natural part of your workspace.
Lift it up. Tidy it up.
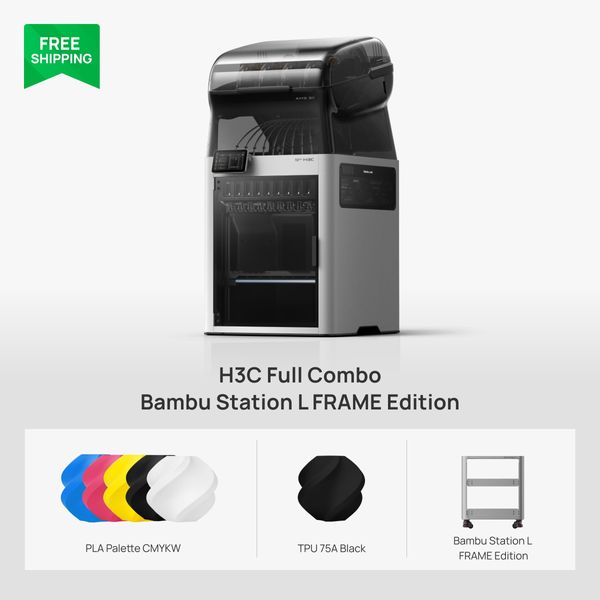
Bambu Station L lifts the H3C to a comfortable working height—easier loading, maintenance, and monitoring, no stooping. Underneath, dedicated storage keeps tools, spare filament, and essentials right where you reach for them.
Clean air. No compromises.
Working next to a printer shouldn't mean breathing what it makes. The Bambu Lab E1 pairs with your H3C and kicks in filtration the moment a print starts.
VOCs
PM2.5
0.3μm Microplastics
Unboxing Video
What's in the box
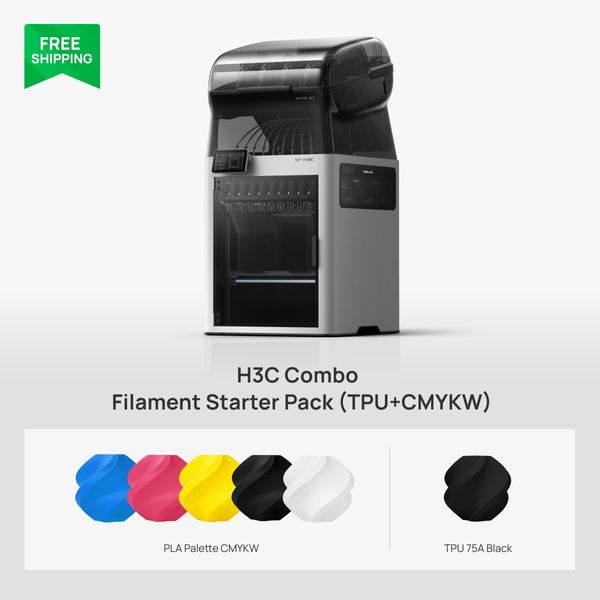
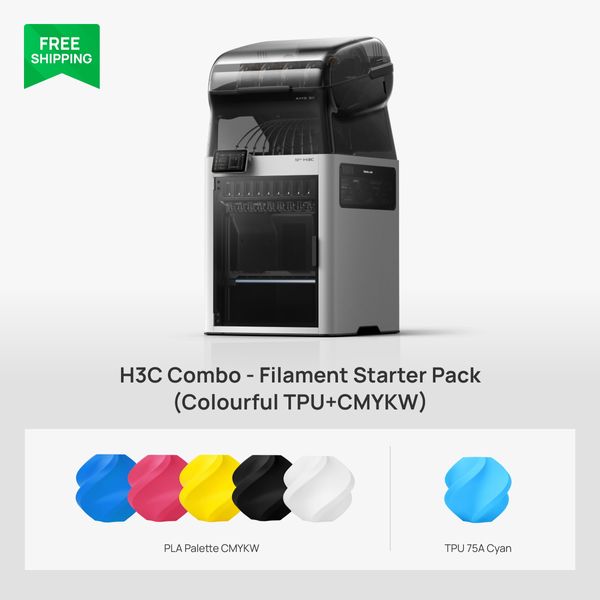
| H3C Combo | H3C Combo - Filament Starter Pack (TPU+CMYKW) | H3C Combo - Filament Starter Pack (Colourful TPU+CMYKW) | H3C Full Combo - Bambu Station L FRAME Edition | |
|---|---|---|---|---|
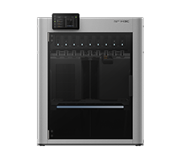
Bambu Lab H3C
|
||||
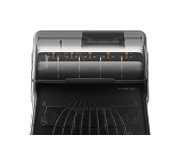
Bambu Lab AMS 3H
|
||||
Printer Power Cord
|
||||
Dryer Module Power Cord
|
||||
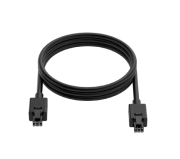
Bambu Bus Cable 6-pin
|
||||
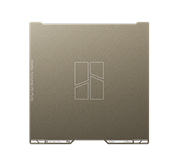
Textured PEI Build Plate
|
||||
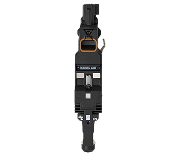
0.4mm PrintTool
|
8
|
8
|
8
|
8
|
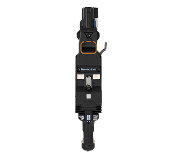
0.4mm PrintTool (for 2.85mm filament)
|
1
|
1
|
1
|
1
|
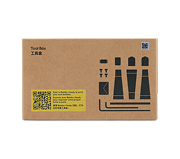
Accessories Box
|
||||
TPU 75A - Black
|
- | - | ||
TPU 75A - Cyan
|
- | - | - | |
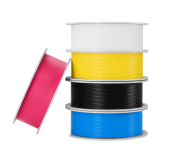
Bambu PLA Palette CMYKW
|
- | |||
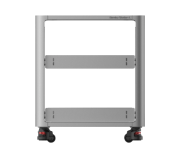
Bambu Station L FRAME Edition
|
- | - | - |
Specs

Bambu Lab H3C 3D Printer
Product Description

Product Highlights-Click “Description +” above for full product details.

CMYKW Color Mixing

Multi-material Flexible

Multi-color TPU

6-Second Material Switching*

3.4s Tool Change

More Than 3D Printing

9-Material Printing, Low Purge Waste

Multi-Process Tools
Why Choose Bambu Lab H3C

6-Second Material Switching*

Prints Ultra-soft TPU 3× Faster*

Expandable Crafting Tools*

9-Material Printing, Low Purge Waste

Enclosed Filament System

More Than 3D Printing
What's Included-Click “Description +” above for full product details.
| Item | H3C Combo | H3C Combo - Filament Starter Pack (TPU+CMYKW) | H3C Full Combo - Bambu Station L FRAME Edition |
|---|---|---|---|
| No included items available. | |||
Which Bambu Lab 3D Printer Series Is Right For Me?

Bambu Lab P2S Combo 3D Printer

Bambu Lab X2D AMS Combo Dual-Nozzle 3D Printer | Multi-Material, AI Monitoring, Heated Chamber

Bambu Lab A1 /A1 Combo 3D Printer

Bambu Lab H2C AMS Combo

Bambu Lab P1S AMS Combo 3D Printer

Bambu Lab H2D Pro 3D Printer

Bambu Lab A1 mini 3D Printer

Bambu Lab H2S/H2S AMS Combo/H2S Laser Full Combo

Bambu Lab H2D/ H2D AMS Combo/H2D Laser Full Combo

Bambu Lab P1S 3D Printer

Bambu Lab H2C Laser Full Combo

P1S Combo 3D Printer with AMS 2 Pro and Buffer

Bambu Lab A2L 3D Printer – Extra-Large Build Volume with Full-Auto Calibration

Bambu Lab P1S Combo 3D Printer with AMS 2 Pro and Hub

Bambu Lab H3C 3D Printer

Bambu Lab H2D Pro Complete Setup Bundle| 2 Printers, Hotends, PEI Plate, Glue & 10 PLA Matte Refills
Technical Specifications-Click “Description +” above for full product details.
Nine tools, calibrated automatically—every time.


