
Build Plates Expansion Kit for the Bambu Lab H3C
The Build Plates Expansion Kit adds Bambu's spare build plates for the H3C: the Cool Plate SuperTack Pro for easy-release PLA and PETG printing, and the Engineering Plate for smooth, engineering-grade first layers.
Compatibility
Made for the Bambu Lab H3C only (350 x 320 mm plates, 330 x 320 mm usable build area).
Availability: the Cool Plate + Engineering Plate bundle ships around November 11, 2026 at Bambu Lab - we will confirm timing when you order.
 2.1.
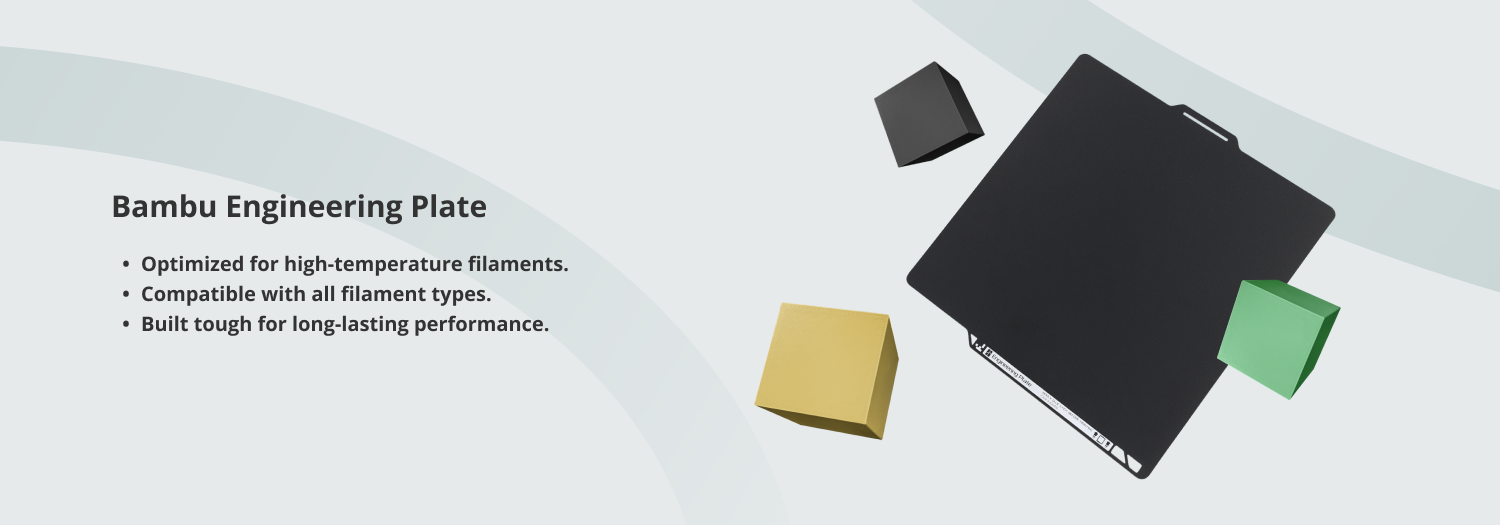
One Build Plate for All Filaments
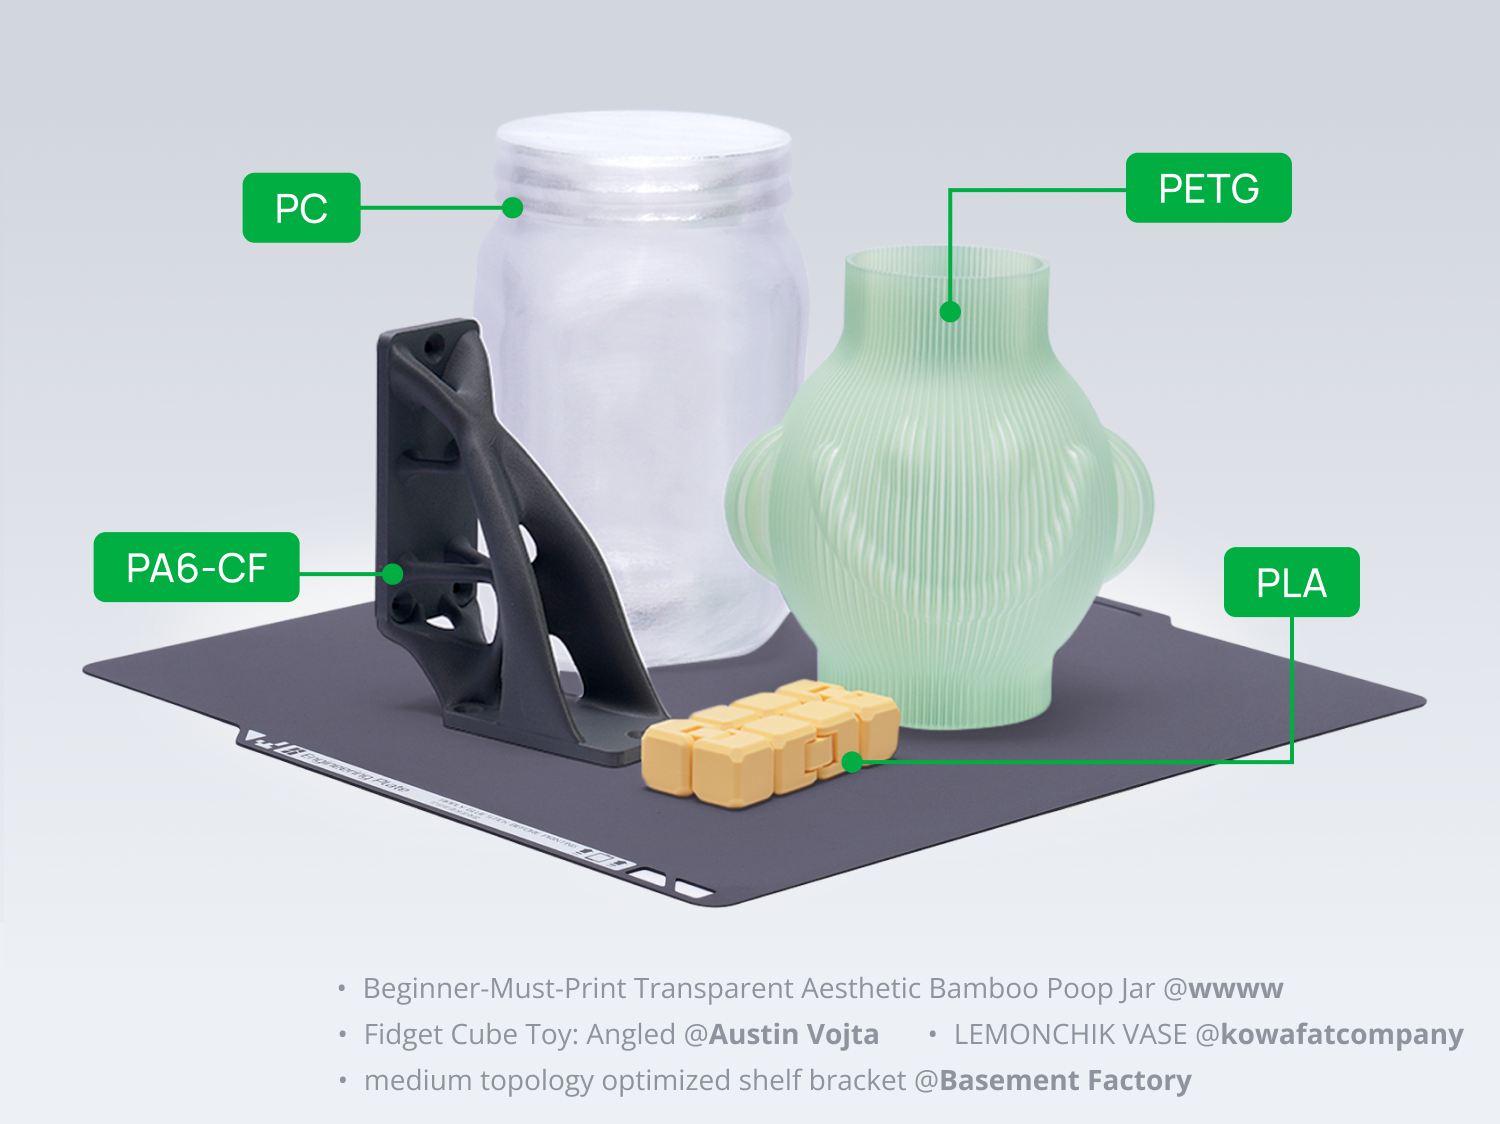
With a simple layer of glue, the Engineering Plate is compatible with our entire filament lineup, it's the perfect go-to solution when you're not sure which plate to use.

Durable Smooth Surface Coating
The refreshed coating significantly improves the plate's temperature, scratch, and corrosion resistance. Built to withstand prolonged high-temperature printing and hundreds of washes and peels, its smooth, dependable surface guarantees stable adhesion every single time.

Smooth Natural Surface Finish
The smooth base coating can impart a smooth flat texture to the bottom surface of the printed object, better blend in with other surfaces.


Considerations
- 1. Before printing with any filament, it is recommended to apply glue on the Engineering Plate. Applying solid glue can make part removal easier, but since solid glue has a certain thickness and is difficult to apply evenly, the printing stability and first-layer quality are usually not as good as when using liquid glue. On the other hand, liquid glue may make part removal more difficult. You should choose the appropriate glue type based on the filament, printing environment, and other practical conditions. For more details, please refer to the official wiki: Bambu Lab Wiki.
- 2. When using a scraper to remove prints, make sure to use the correct technique. If the model adheres too tightly to the build plate, apply alcohol to the interface between the model and the plate to reduce adhesion and make removal easier. This helps prevent damage to the model, the build plate, or potential injury to the user caused by excessive force.
- 3. Increasing heatbed temperature enhances adhesion. Users need to adjust the temperature of the heatbed based on their specific requirements in order to achieve the most suitable level of adhesion.
- 4. For X1 series, P1 series, and A1 printers, before auto-leveling, it is necessary to repeatedly rub the nozzle in the wiping area of the build plate to thoroughly remove any residual material at the tip of the nozzle. The coating in the wiping area will gradually wear over time, which is normal and does not affect print quality or nozzle lifespan, so there is no need to worry about quality issues.
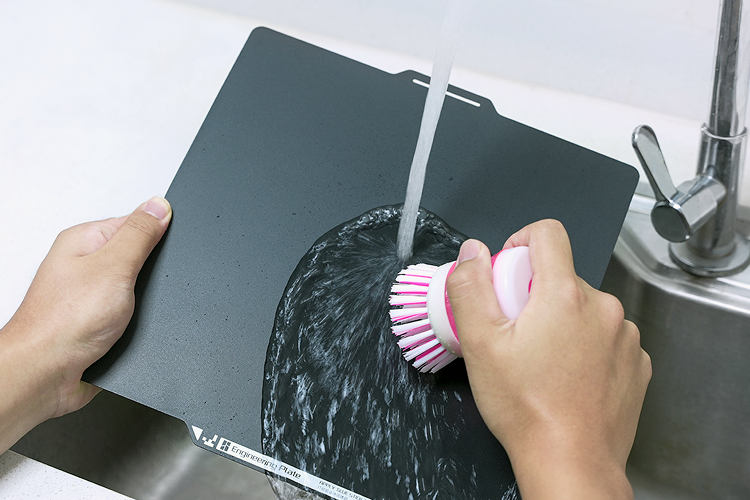
- 5. Dust and grease deposits on the build plate can reduce adhesion. It is recommended to regularly clean the build plate with warm water and dish soap to maintain optimal adhesion. Do not use other unapproved cleaning agents.
- 6. Bambu Lab recommends only using Bambu Lab official glue on the Bambu Lab build plates, and cannot be held responsible for any damage caused to plates as a result of using third-party glue on build plates. Do not clean the Engineering Plate with Acetone, as it will damage the Engineering Plate surface.
- 7. Always wait for a few minutes before removing printed models to allow the plate to cool down for easy print removal. This prevents damage to the plate and ensures a long lifetime of the product.
- 8. The latest firmware brings significant improvements to the Bambu Engineering Plate calibration using the Micro Lidar, and it is now fully compatible with the automatic calibration process.
- 9. The Engineering Plate plate is considered a consumable part, which will degrade over time. The warranty will only cover manufacturing defects, not cosmetic damage like scratches, dents, or cracks. Defective sheets upon arrival are the only ones covered by the warranty.
Recommended Settings
Please note thatother slicer settings might need to be adjusted based on the printed model and the filament requirements
| Materials | Heatbed Temperature | Glue Stick Required? |
| PLA/PLA-CF/PLA-GF | 45~60℃ | Glue Stick/Liquid Glue |
| PETG/PETG-CF | 60~80℃ | Glue Stick/Liquid Glue |
| ABS (not for A1 mini) | 90~100℃ | Glue Stick/Liquid Glue |
| ASA (not for A1 mini) | 90~100℃ | Glue Stick/Liquid Glue |
| TPU | 35~45℃ | Glue Stick/Liquid Glue |
| PVA | 45~60℃ | Glue Stick/Liquid Glue |
| PC/PC-CF (not for A1 mini) | 90~110℃ | Glue Stick/Liquid Glue |
| PA/PA-CF/PAHT-CF (not for A1 mini) | 90~110℃ | Glue Stick/Liquid Glue |
| PET-CF (not for A1 mini) | 80~100℃ | Glue Stick/Liquid Glue |
Product Specifications
| Material | Polyester powder + manganese steel |
| Surface Temperature Resistance | Up to 120℃ |
| Thickness | 0.5mm |
| Usable Print Size |
X1C/P1P/P1S/A1/P2S/X2D - 256*256mm |
| Packaging Size |
X1C/P1P/P1S/A1/P2S/X2D - 315*295*15mm H2D/H2S - 393mm*380mm*15mm H2C/A2L - 393mm*380mm*15mm |
| Packaging Weight |
X1C/P1P/P1S/A1/P2S/X2D - 0.50kg H2D/H2S - 0.78kg |

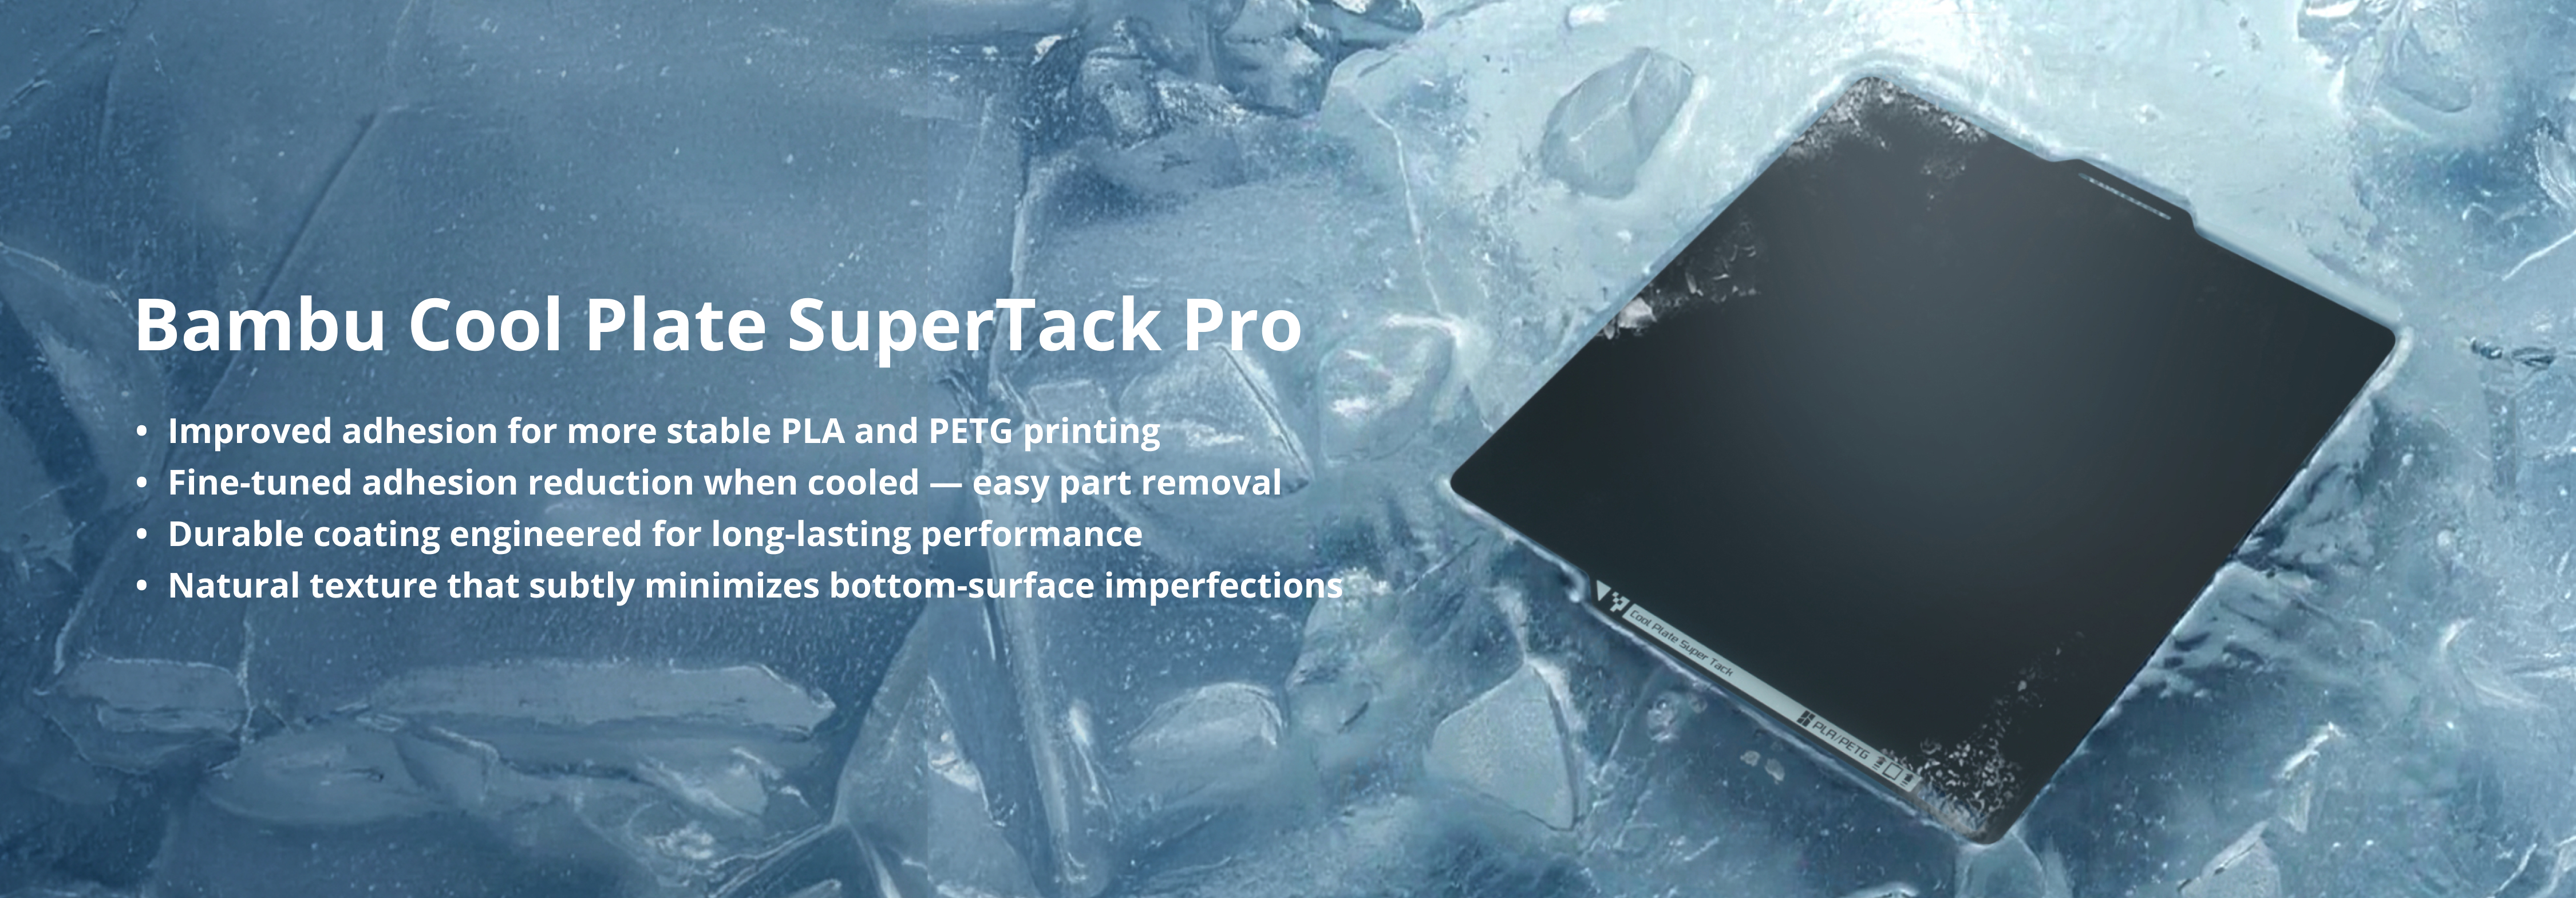
What Makes it Pro?
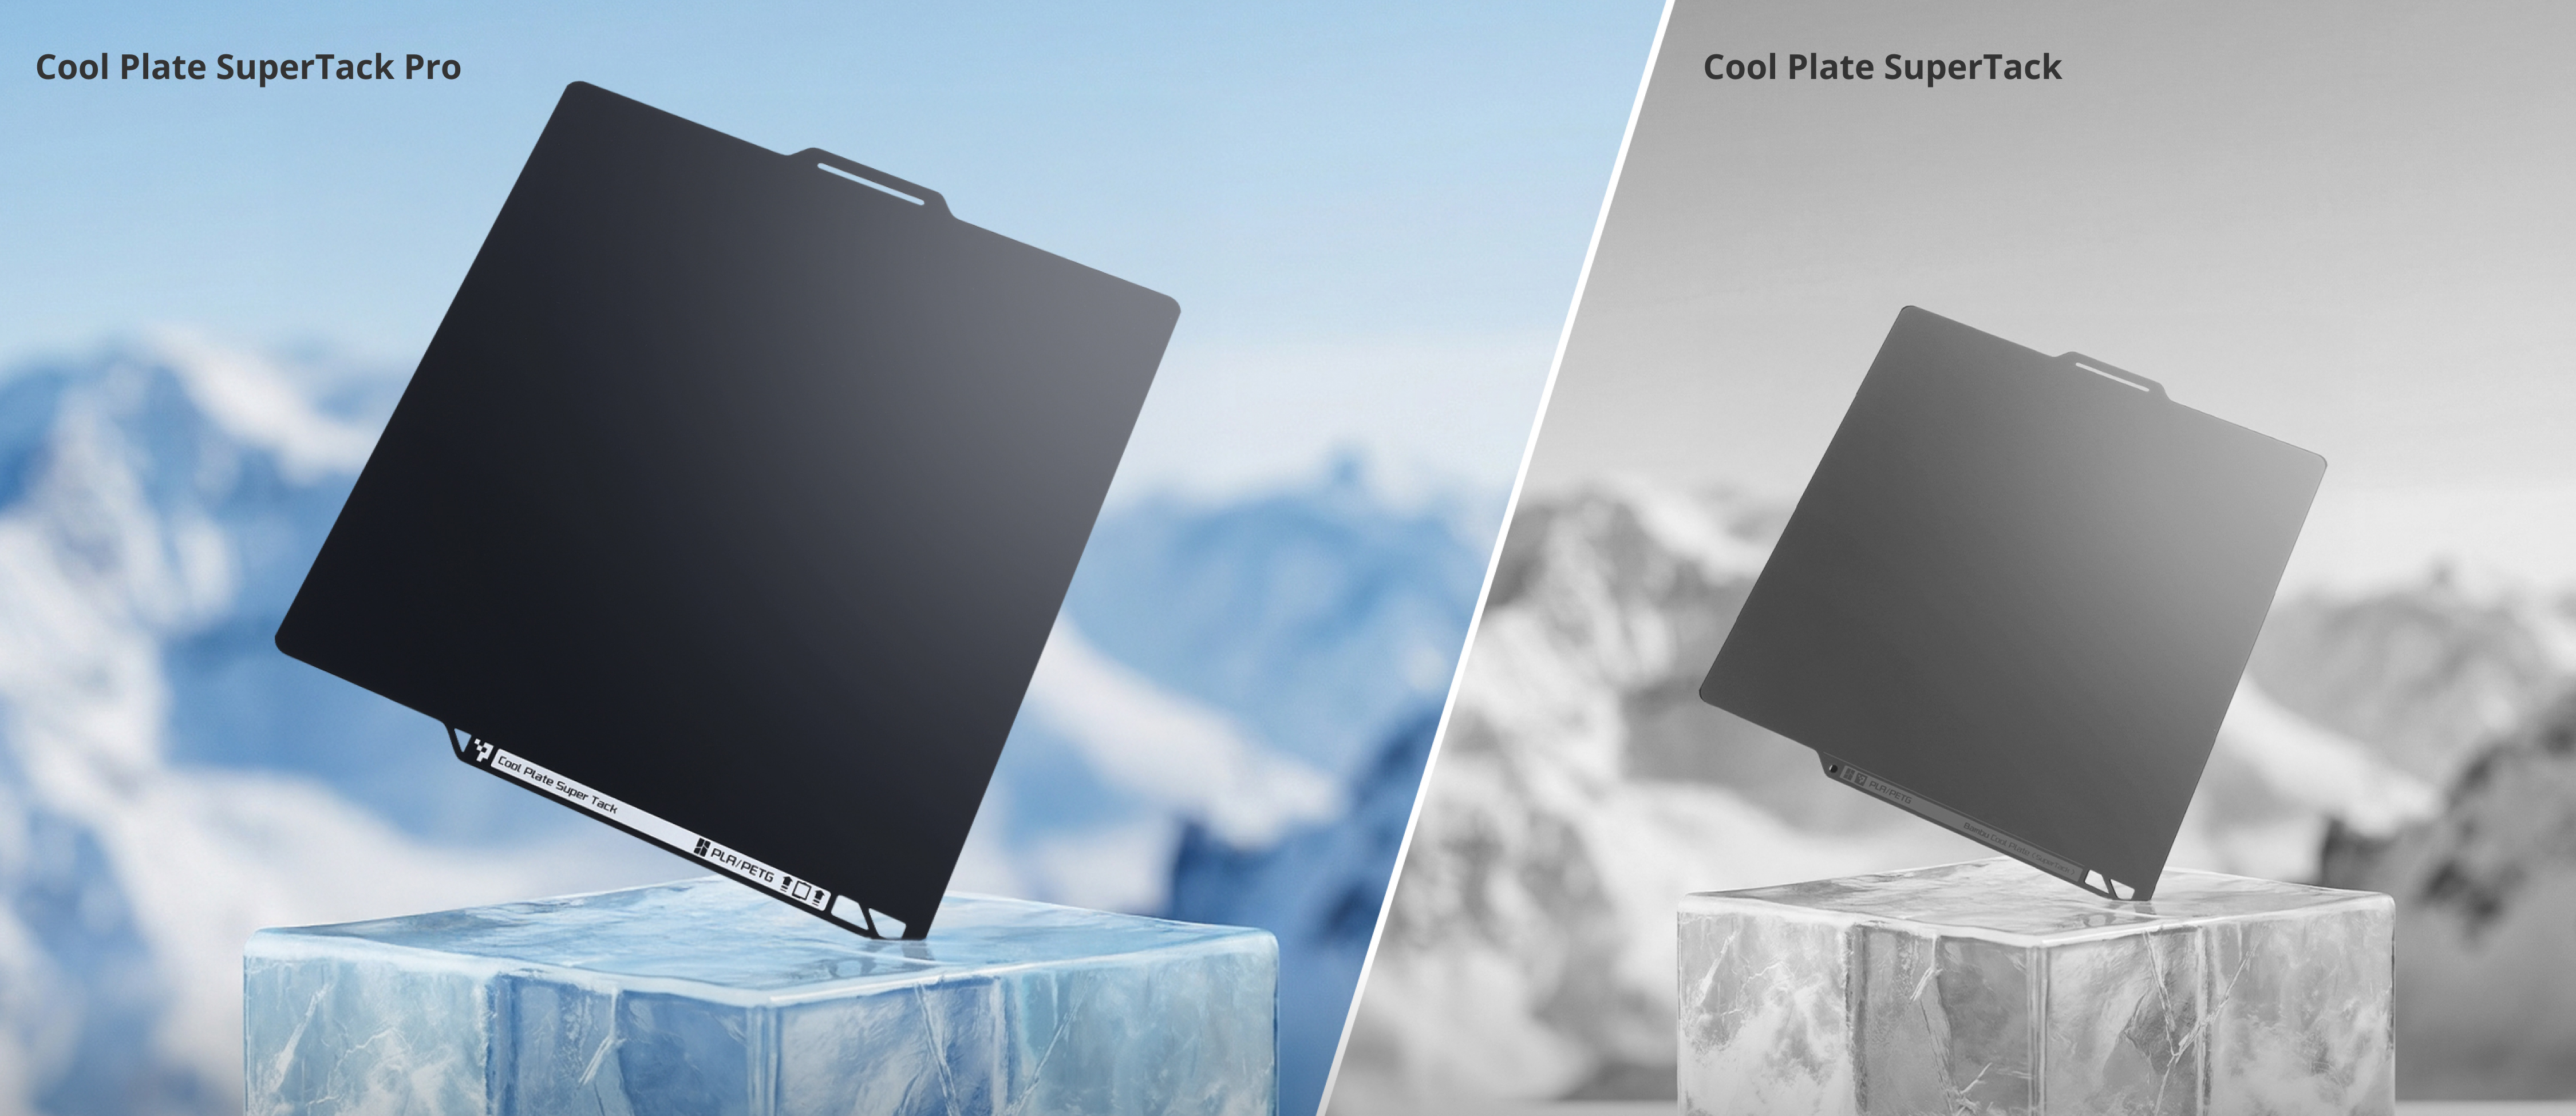
25% Longer Lifespan
10% Lower Operating Temperature
Better Scratch Resistance
Say Goodbye to Print Failures
SuperTack Pro coating provides ultra-strong adhesion to PLA and PETG filaments, even at lower heatbed temperatures. It enhances printing success by eliminating adhesion issues, reduces warping when printing large objects and works well with a surface in bad shape.
Eliminating Adhesion Issues


Reduces Warping when Printing Large Objects

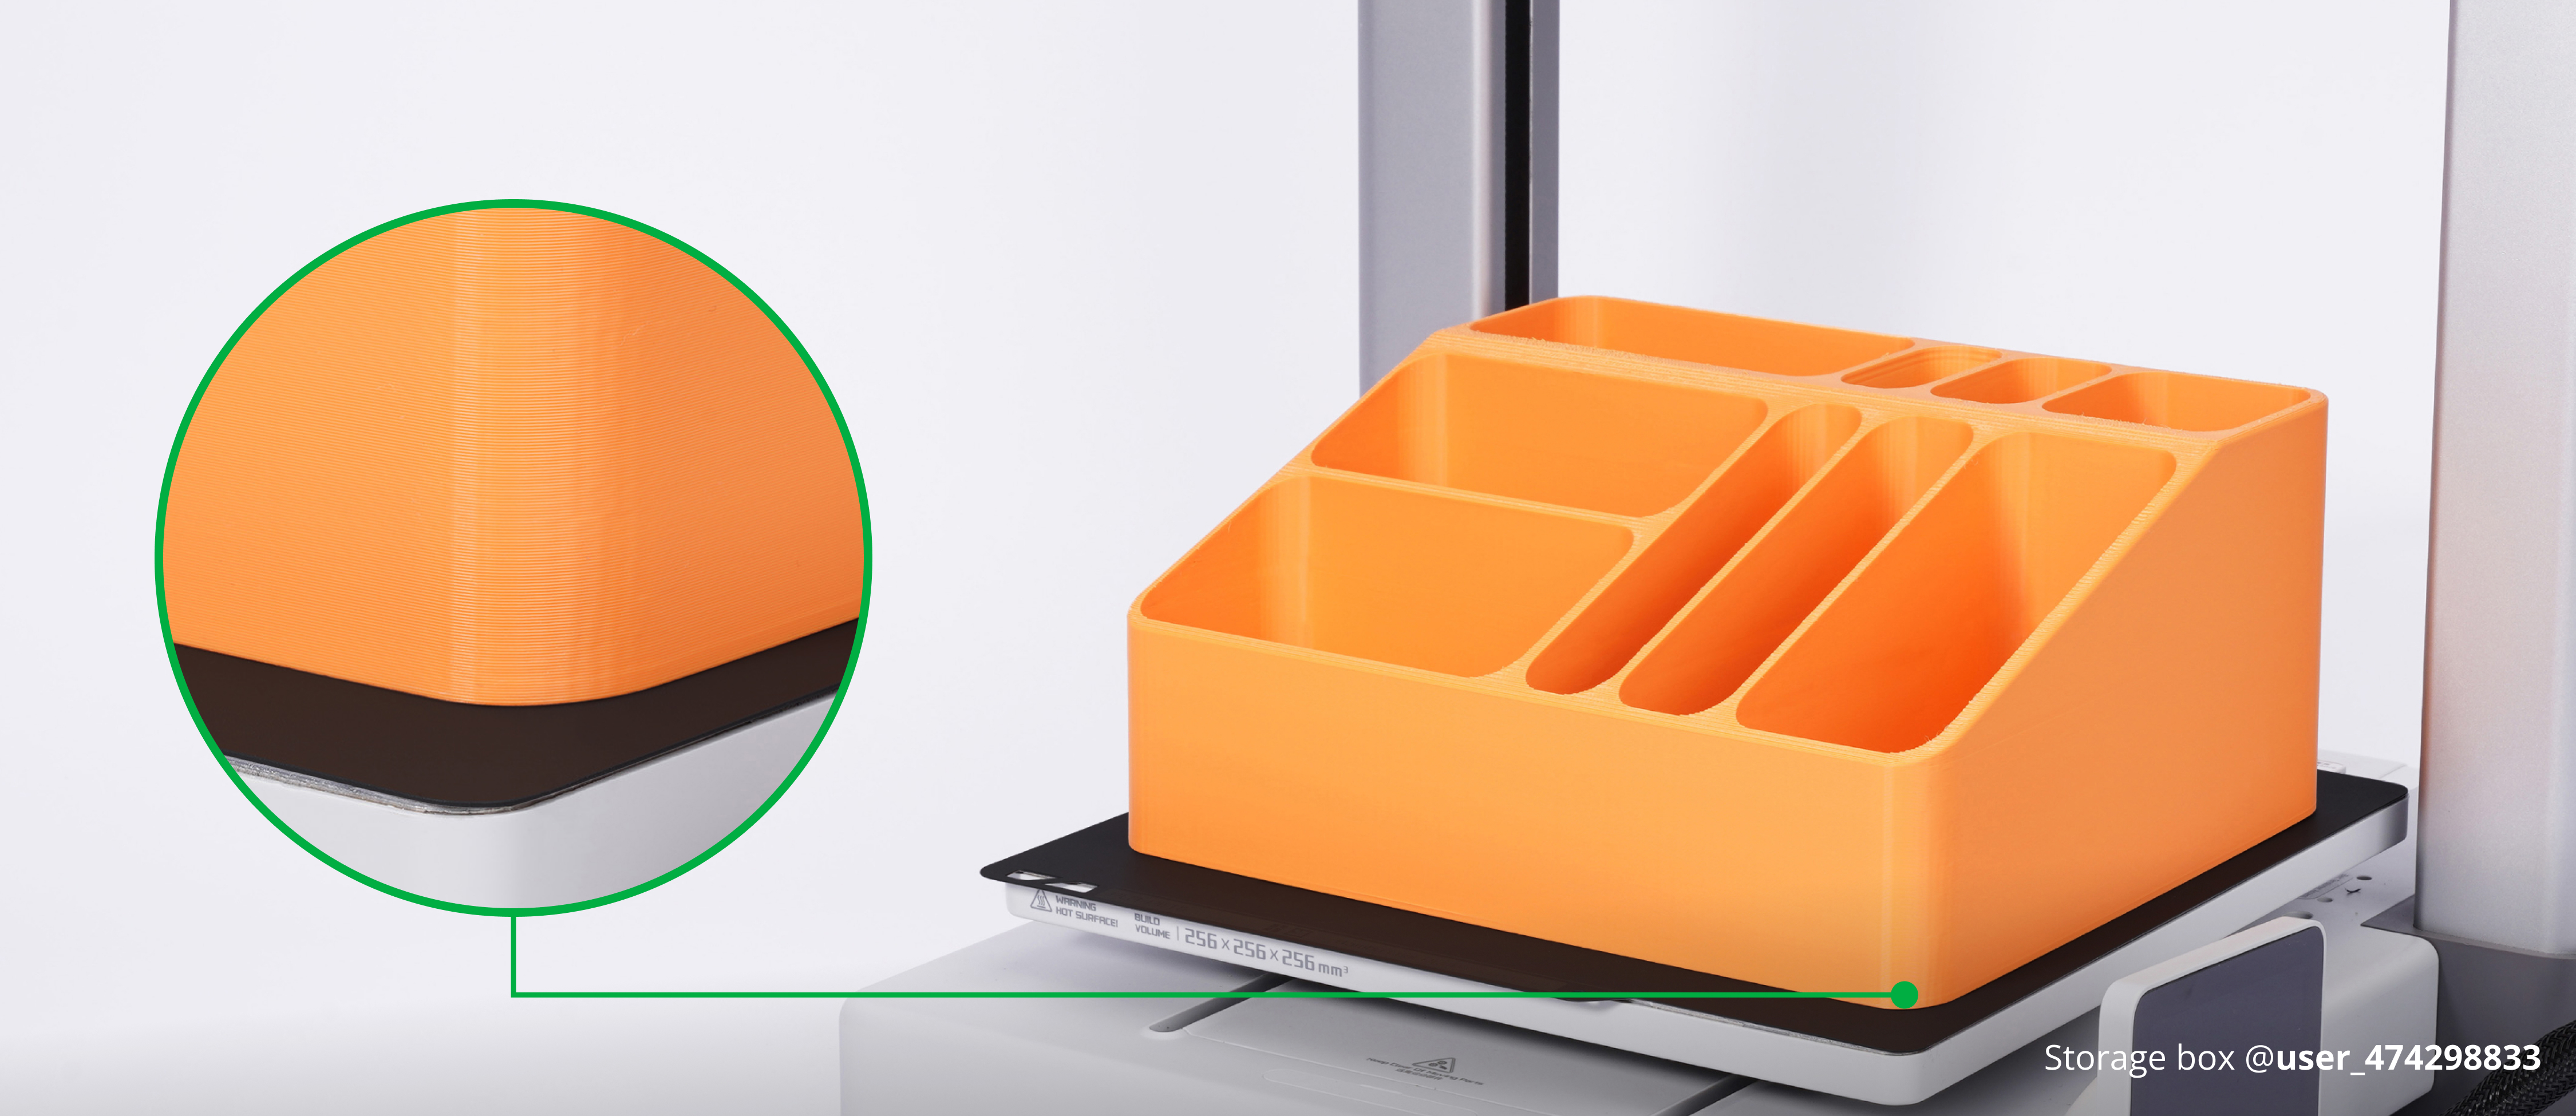
The Surface is in Bad Shape? No Problem!
Long Lasting Performance
The SuperTack Pro coating is durable, retaining its sticky properties even after extensive use. This results in a longer lifespan for the printing plate, reducing printing costs (less than 15% adhesion loss after 300 prints) and lowering carbon emissions.


Smooth Natural Surface Finish
The SuperTack Pro coating can impart a smooth and matte texture to the bottom surface of the printed object, to better blend in with other surfaces

Energy Saving
The SuperTack Pro coating requires only an extremely low heatbed temperature to ensure that printed objects adhere securely. This means you can save a significant amount of energy during heating, leading to lower power bills and, more importantly, helping to protect our planet.

Comparison of Heatbed Temperatures
| Materials | Heatbed temperature with SuperTack | Heatbed temperature with SuperTack Pro |
| PLA | 45℃ | 40℃ |
| PETG | 70℃ | 60℃ |
How to remove prints from SuperTack Pro
(The instruction below shows you how to remove the prints without damaging the coating)
Use the scraper included with your printer to gently lift the print, then pry it off carefully. If the print is sticking too tightly, heat the plate on the heatbed to 50C to assist with removal.
Considerations
- Use the scraper included with your printer to gently lift the print, then pry it off carefully. If the print is sticking too tightly, heat the plate on the heatbed to 50C to assist with removal. The surface is soft. Be careful when using a scraper to remove printed parts.
- Because the Vortek hotend rack occupies additional space, the H2C print bed is slightly smaller than the H2D. Therefore, The H2C and H2D build plates differ in size. Please ensure you select the correct model when purchasing.
- Do NOT print with TPU filament, as it will damage the build plate.
- Increasing heatbed temperature enhances adhesion. Users need to adjust the temperature of the heatbed based on their specific requirements in order to achieve the most suitable level of adhesion.
- For X1 series, P1 series, and A1 printers, before auto-leveling, it is necessary to repeatedly rub the nozzle in the special wiping area of the build plate to completely remove any residual material at the tip of the nozzle. The coating in the special-designed wiping area will gradually become worn over time. This is normal and does not affect print quality or nozzle lifetime, so there is no need to worry about any quality issues.
- Bambu Cool Plate SuperTack Pro is considered a consumable part, which will degrade over time. The warranty will only cover manufacturing defects, not cosmetic damage like scratches, dents, or cracks. Defective sheets upon arrival are the only ones covered by the warranty.
- SuperTack Pro provides good adhesion without adhesive or frequent cleaning. You can clean the surface with water and dish soap if heavy dirt appears. Do NOT use organic solvents (especially acetone) to clean the build plate, as it will damage the SuperTack Pro surface.
- Bambu PLA Silk+ is supported on the Cool Plate SuperTack Pro thanks to its improved layer adhesion. But other PLA Silk material exhibits strong adhesion on the SuperTack Pro build plate, which may damage printed models. Therefore, we do not recommend printing other PLA Silk material on the SuperTack Pro except Bambu PLA Silk+. For users printing with third-party PLA Silk materials, please select the Generic PLA Silk preset in Bambu Studio and evaluate material compatibility based on the specific conditions.
Installation Steps for X1 Series/P1 Series/A1/P2S/X2D

Step 1: Align the plate with the fixed points of the platform with the name of the plate facing you

Step 2: Lower the plate and secure to the magnetic platform
Installation Steps for H2 Series

Step 1: Align the plate with the fixed points of the platform with the name of the plate facing you

Step 2: Lower the plate and secure to the magnetic platform
Product Specifications
| Material | Specially Designed Coating Spring Steel Plate |
| Thickness | Coating - 0.05mm Steel Plate - 0.4mm |
| Surface Temperature Resistance | Up to 120℃ |
| Usable Print Size | X1C/P1P/P1S/A1/P2S/X2D - 256*256mm H2D/H2S - 350*320mm H2C/A2L - 330*320mm |
| Packaging Size |
X1C/P1P/P1S/A1/P2S/X2D - 315*295*15mm H2D/H2S - 393mm*380mm*15mm H2C/A2L - 393mm*380mm*15mm |
| Packaging Weight | X1C/P1P/P1S/A1/P2S/X2D - 0.22 kg H2D/H2S - 0.48 kg H2C/A2L - 0.46 kg |


